Follow these steps to build a document creation process with Airtable and ActiveMerge.
Step 1: Create Your ActiveMerge Account
First, set up your ActiveMerge account so you can manage templates, workflows, and integrations.
- Go to ActiveMerge and click Sign Up Free.

- Register using your work email address and create a secure password.
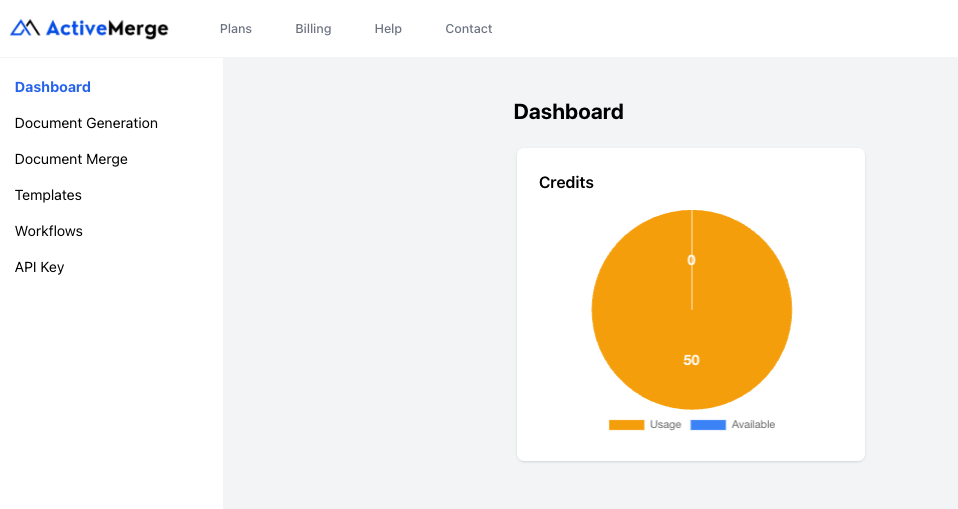
Pro Tip: The free plan allows you to generate up to 50 documents with no credit card required — perfect for testing your first workflow.
Step 2: Create a Contract Template in Word or Google Docs
This will be your master legal document that ActiveMerge uses to insert Airtable data automatically.
- Open Microsoft Word or Google Docs.
- Write your standard legal agreement — for example, a Client Service Agreement or Retainer Contract.
- Replace variable data fields (client name, address, date, rate, etc.) with merge placeholders wrapped in curly braces { }.
Here’s a sample contract template you can copy:
https://activemerge.com/templates/free-legal-contract-word-template/
- Save the file in .docx format.
- Upload it to ActiveMerge under Templates → Upload Template.

- Click Detect Placeholders to verify that all {fields} were recognized.

Best Practice: Make sure your placeholder names (e.g., {Client_Name}) exactly match your Airtable column headers.
Step 3: Generate an API Key
You’ll now connect ActiveMerge to Airtable using a secure API key.
- In your ActiveMerge dashboard, go to Settings → API Keys.
- Click Generate New API Key.
- Copy the key and keep it secure — you’ll need it when setting up the Airtable extension.
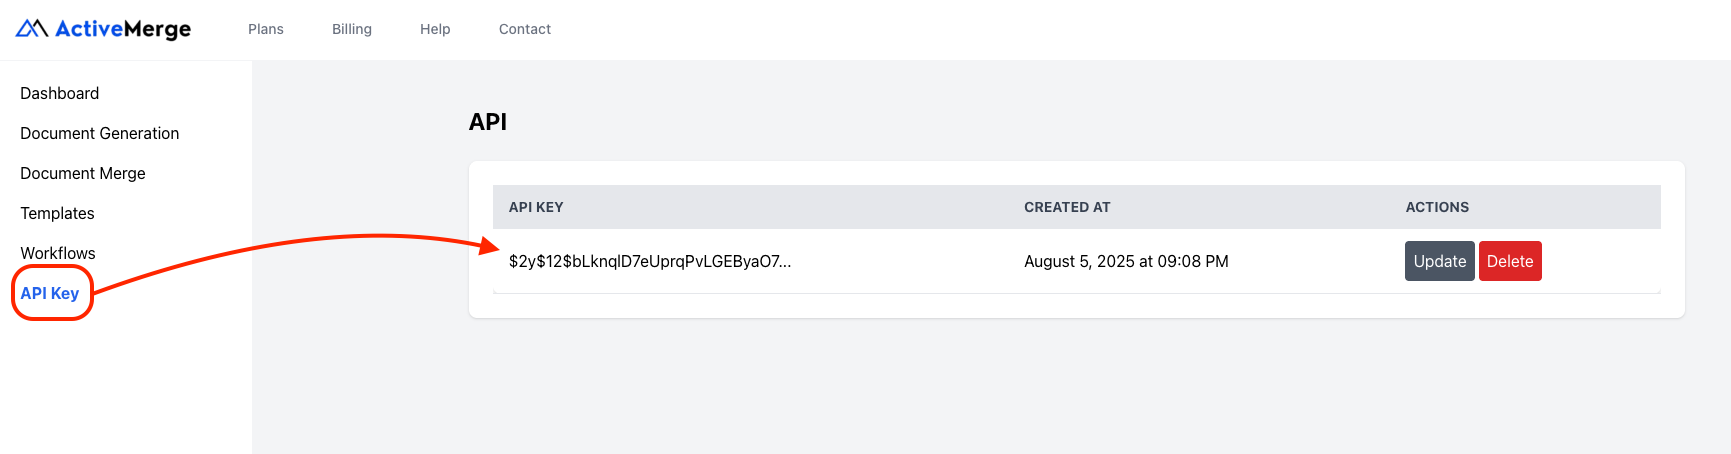
Important: Treat this like a password. Never share your API key publicly or embed it in shared documents.
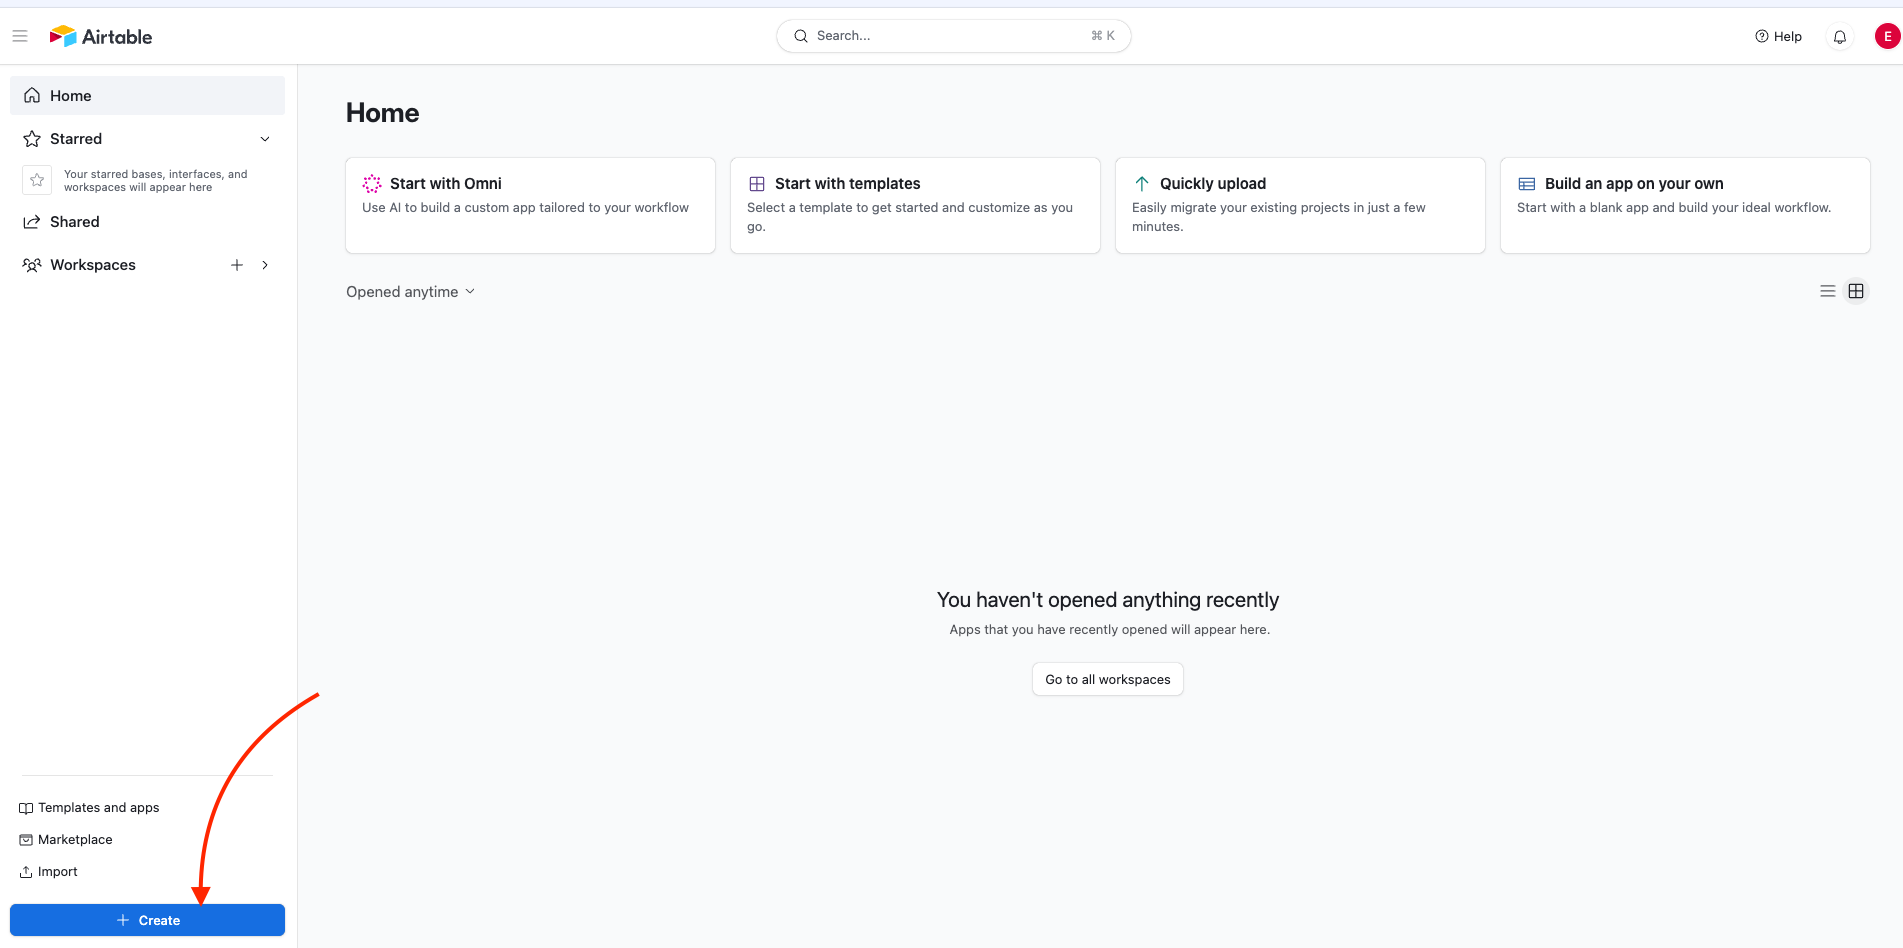
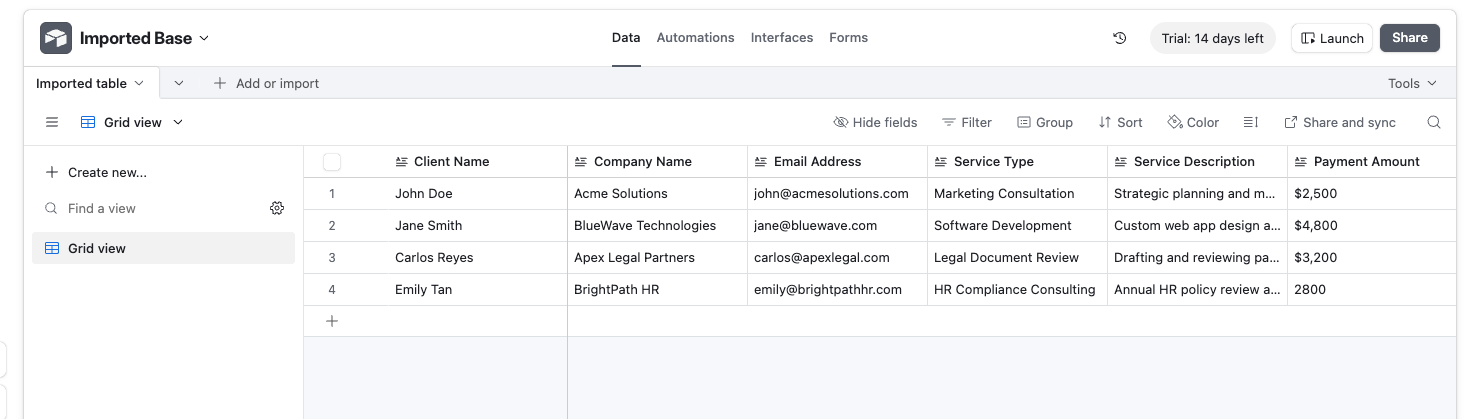
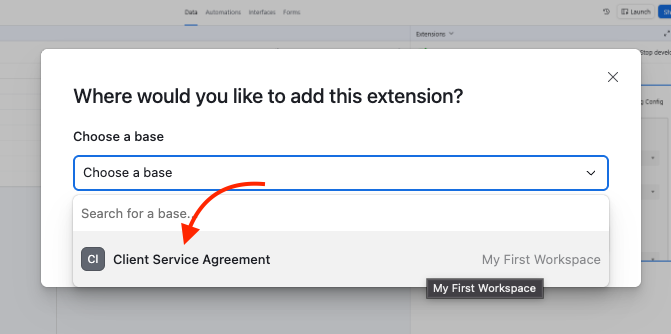
Step 4: Set Up Your Airtable Base
Now, you’ll prepare the data source that will feed into your legal contract templates.
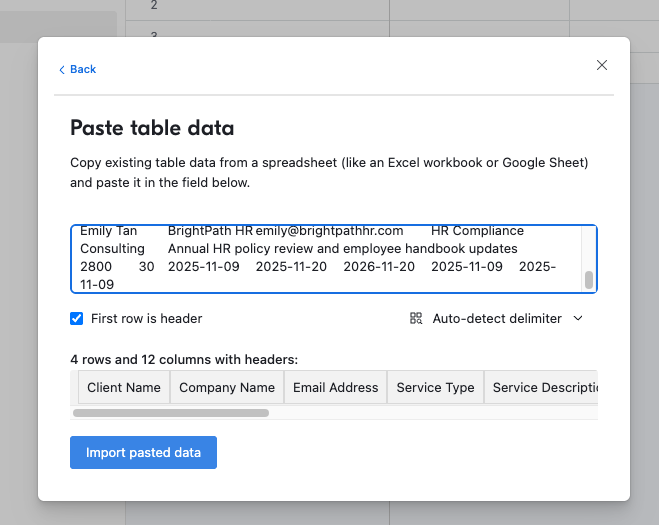
- Open your Airtable workspace and create a new Base (or use an existing one). You can name it something like “Client Contracts” or “Legal Agreements.”
- Add columns that correspond to the placeholders you used in your ActiveMerge template. Each column should represent one merge field. Example:
| Client_Name | Client_Address | Law_Firm_Name | Attorney_Name | Agreement_Date | Start_Date | Case_Description | Retainer_Amount | Hourly_Rate | Payment_Terms | Jurisdiction |
| John Smith | 123 Oak Avenue, NY | Westbridge Legal Group | Sarah Tan | 2025-01-15 | 2025-01-16 | Contract review and negotiation | $2,000 | $250/hr | 15 | New York, USA |
| Maria Lopez | 45 Elm Street, LA | Westbridge Legal Group | Sarah Tan | 2025-02-01 | 2025-02-02 | Employment dispute consultation | $3,500 | $300/hr | 30 | California, USA |
- Fill in a few sample records for testing your setup before generating documents in bulk. You can always add more records later once your mapping works correctly.
Best Practice: Use clear, consistent field names with underscores (_) instead of spaces to prevent placeholder mismatches. For instance, use Client_Name instead of Client Name, and ensure it matches exactly with {Client_Name} in your Word template.
Install the ActiveMerge Document Generator Extension in Airtable
Now, bring ActiveMerge into Airtable to generate documents directly from your records.
- In your Airtable base, click Extensions → Add Extension.
- Search for ActiveMerge Document Generator in the Airtable Marketplace.
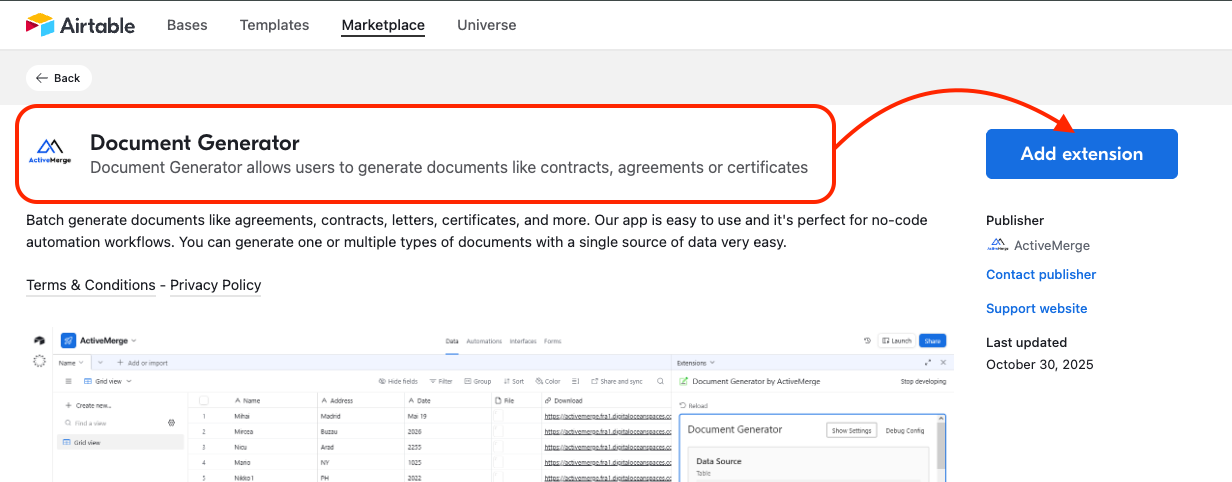
- Click Install and open the configuration panel.
- Paste your ActiveMerge API Key from Step 3.
- Choose the template you uploaded earlier.
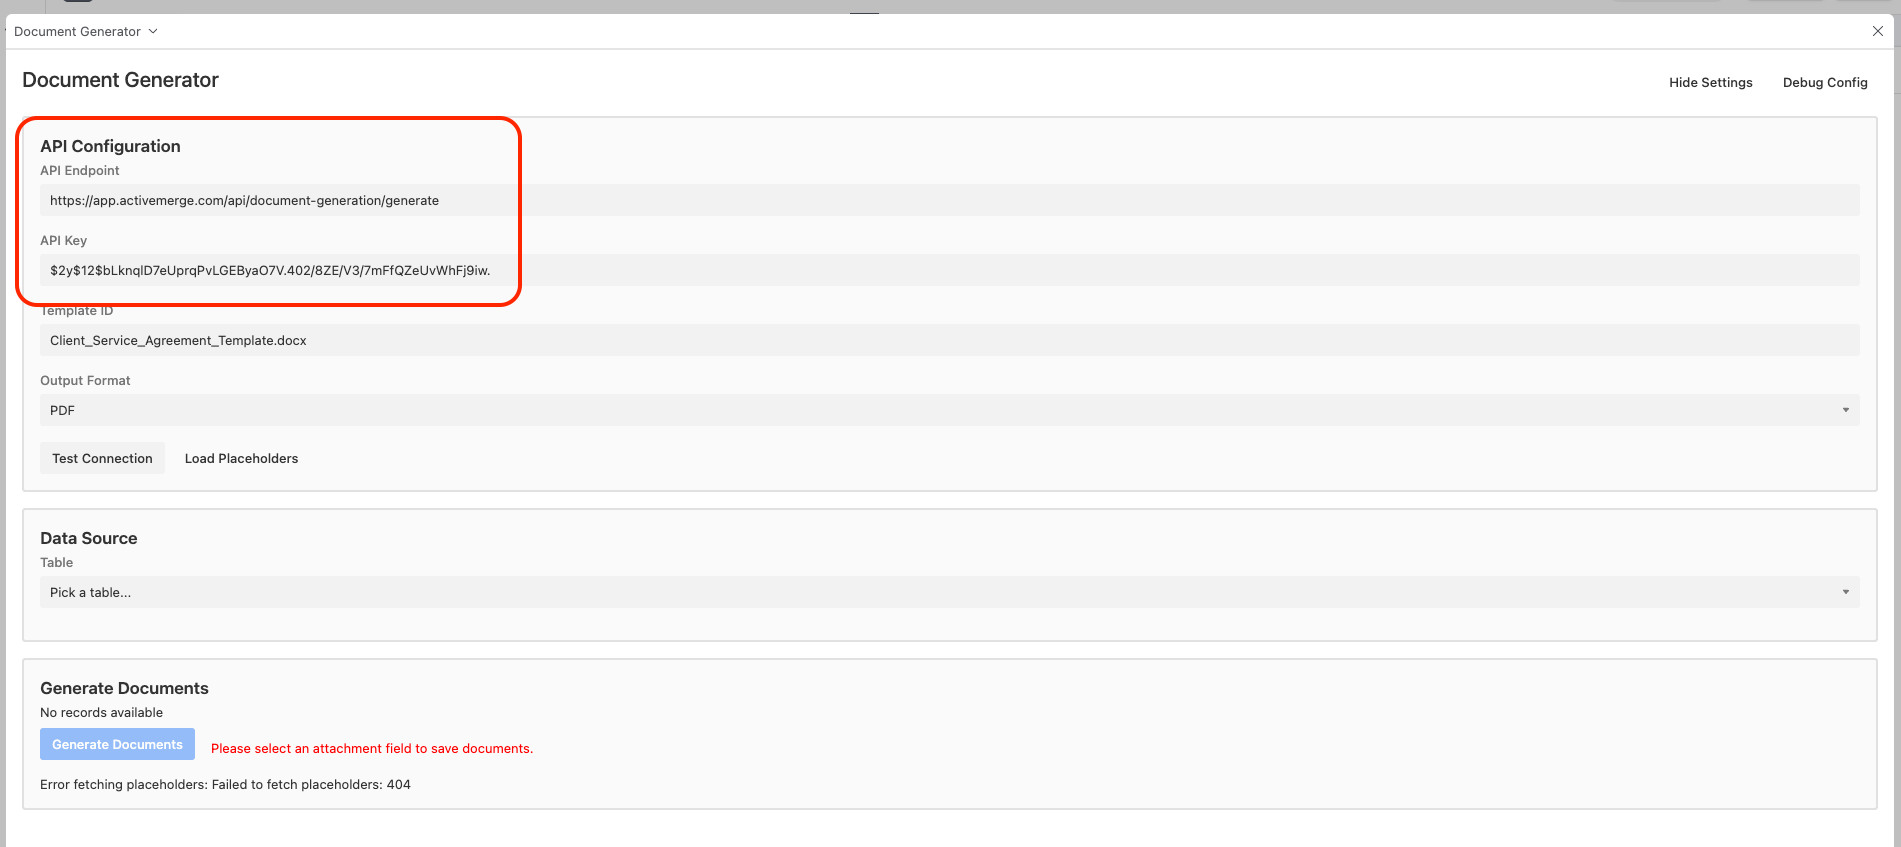
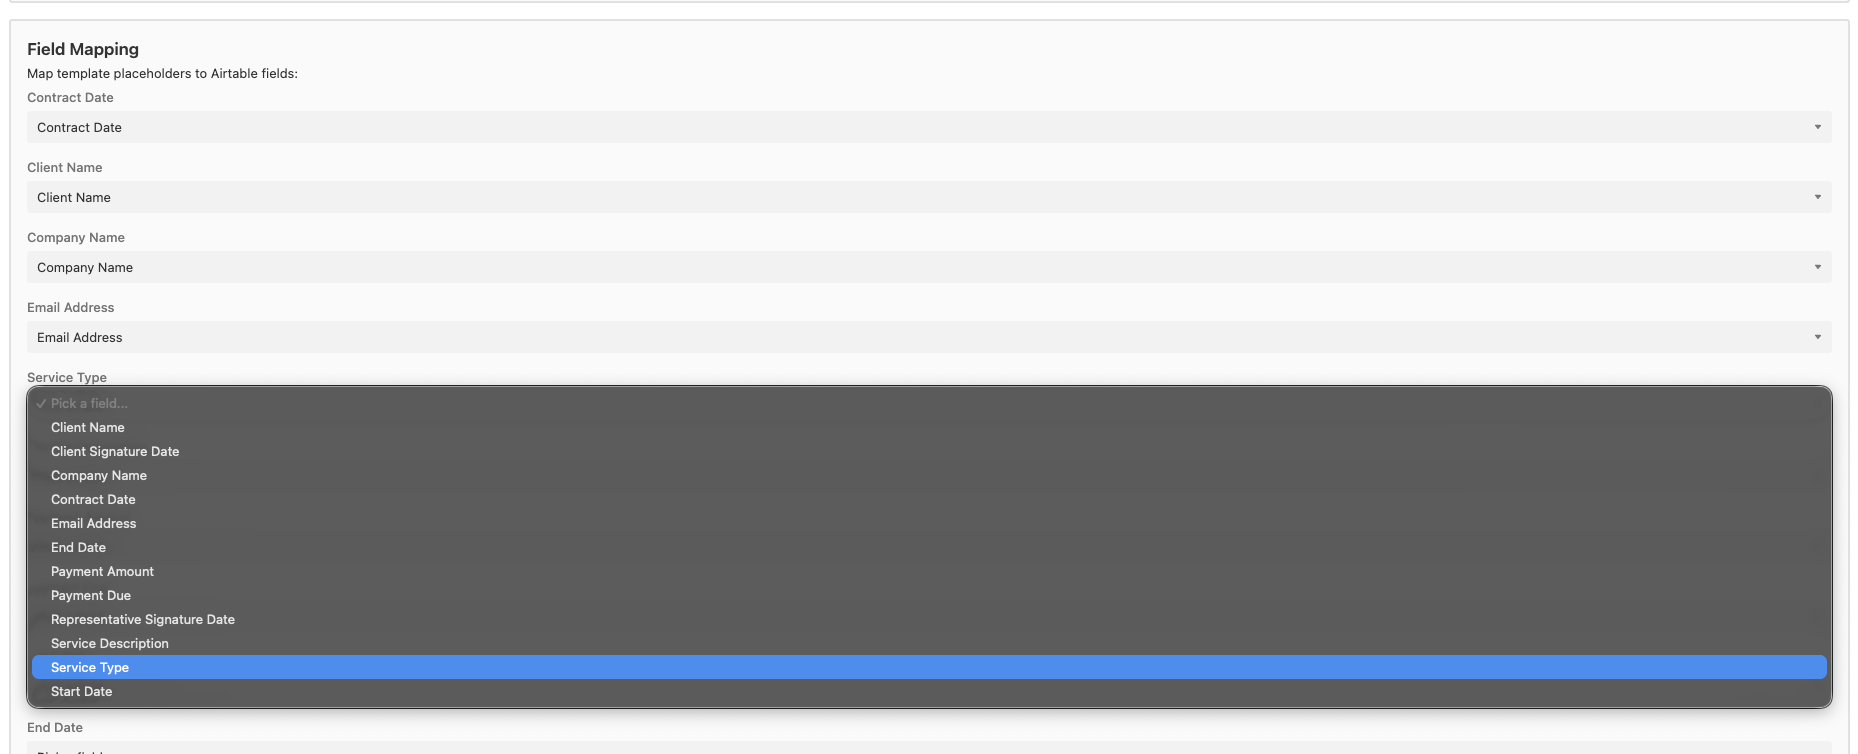
- Map each placeholder in the document to its corresponding Airtable field:
| Placeholder | Airtable Field |
| {Client_Name} | Client_Name |
| {Client_Address} | Client_Address |
| {Law_Firm_Name} | Law_Firm_Name |
| {Attorney_Name} | Attorney_Name |
| {Agreement_Date} | Agreement_Date |
| {Start_Date} | Start_Date |
| {Case_Description} | Case_Description |
| {Retainer_Amount} | Retainer_Amount |
| {Hourly_Rate} | Hourly_Rate |
- Choose your output format (PDF or Word).
- Optionally, set your naming pattern: Client_Agreement_{Client_Name}.pdf
Step 6: Generate Contracts Automatically
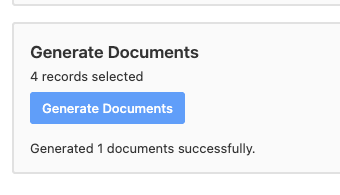
You’re now ready to create client contracts directly from Airtable.
- Open your Airtable base.
- Select one or more records.
- In the ActiveMerge extension panel, click Generate Document.
ActiveMerge will automatically:
- Pull each record’s data from Airtable.
- Replace placeholders in your Word template.
- Generate complete client contracts in seconds.
Each generated file will appear as a downloadable link or attachment in your Airtable record.
Step 7: Save, Share, and Automate Delivery
Once generated, contracts can be automatically delivered or stored:
- Attach to Airtable Records: Each record can include the final PDF for quick reference.
- Sync to Cloud Storage: Send files to Google Drive, Dropbox, or OneDrive folders automatically.
- Email Clients Automatically: Use Airtable Automations to send contracts right after they’re generated.
Example Automation:
- Trigger: When “Contract_File” is added to a record
- Action: Send email to {Client_Email} with the file attached
This setup keeps your legal workflows running smoothly — with contracts delivered faster and tracked properly.
Step 8: Review and Manage All Generated Contracts
Once ActiveMerge finishes processing, you can:
- View files directly inside Airtable (under your attachment column).
- Download or preview them.
- Manage them in your ActiveMerge dashboard under Workflows → Generated Documents.
Example File Outputs:
- Client_Agreement_John_Smith.pdf
- Client_Agreement_Maria_Tan.pdf
All neatly organized — one per client.
Best Practices
- Keep placeholders identical to Airtable field names use underscore instead of spaces.
- Always run a test preview before bulk-generating.
- Maintain clean, versioned templates in ActiveMerge for different contract types.
- Use automation to handle repetitive tasks — such as client delivery or archiving.