
For sales teams, timely and professional follow-ups can make or break a deal. Manually copying client details into multiple documents—follow-up letters, proposals, quotes, or invoices—not only wastes time but increases the risk of errors and inconsistent branding.
-
I
Step-by-Step: Automate Follow-Up Letters and Other Docs
- I.I Step 1: Create an Active Merge Account
- I.II Step 2: Prepare Your Data in Google Sheets
- I.III Step 3: Build Your Templates in Word or Google Docs
- I.IV Step 4: Upload Templates to Active Merge
- I.V Step 5: Build a Multi-Document Workflow
- I.VI Step 6: Connect Your Data Source
- I.VII Step 7: Preview and Generate Documents
- I.VIII Step 8: Automate Delivery & Storage
- II Conclusion
Active Merge solves this by letting you create standardized, data-driven templates that automatically pull client information from Google Sheets or your CRM. With multi-document workflows, your team can generate every document needed after a meeting or deal milestone in a single, streamlined process.
What You’ll Build:
- A library of branded, client-ready templates (Follow-Up Letter, Proposal, Invoice, and more)
- An Active Merge Workflow that generates multiple documents at once, reducing repetitive work for sales reps
- Automated delivery to clients, storage in cloud folders, and optional internal notifications—so your team can focus on selling, not formatting
This approach ensures your follow-ups are fast, accurate, and consistently professional, giving your sales team more time to close deals while maintaining strong client relationships.
Step-by-Step: Automate Follow-Up Letters and Other Docs
This guide walks you through automating your sales documentation using Active Merge Workflows. From account creation to multi-document workflows and automated delivery, this tutorial will serve as a practical playbook your sales team can replicate.
Step 1: Create an Active Merge Account
Purpose: Establish your workspace, templates, and integrations.
- Go to Active Merge and sign up with your work email.
- In your dashboard, identify three core sections:
- Templates – Upload and manage your Word (.docx) templates.
- Workflows / Document Generation – Set up multi-document workflows for single or bulk generation.
- Integrations – Connect cloud storage and copy your API key for automation.
- Copy your API key and store it securely—you’ll need it for any automated integrations.
Best Practices:
- Create a shared team login policy and designate owner/admin roles.
- Use a consistent template naming convention (e.g., FollowUp_Letter_v1, Proposal_SaaS_v2).
- Maintain a changelog or version notes when updating templates.

Step 2: Prepare Your Data in Google Sheets
Purpose: Ensure accurate client data for document generation.
Columns to Include:
| ClientName | CompanyName | MeetingDate | SalesRepName | NextStep | ProposalValue |
| John Smith | Acme Corp | 2025-08-15 | Sarah Lopez | Schedule demo call | $15,000 |
| Maria Lopez | Beta Systems | 2025-08-17 | Alex Carter | Send contract draft | $22,500 |
Pro Tips:
- Keep column names short and match them exactly to your template merge tags (e.g., {ClientName}).
- For CRM users: create a report view containing all necessary fields for Active Merge mapping.
- Normalize formatting: use YYYY-MM-DD for dates, consistent picklist values, and avoid special characters in field names.

Step 3: Build Your Templates in Word or Google Docs
Purpose: Standardize content and placeholders for reuse.
- Follow-Up Letter Template
| {Date} {ClientName} {CompanyName} Subject: Next Steps Following Our Call on {MeetingDate} Hi {ClientName}, Thank you for your time today. Here’s a brief summary and the proposed next steps: Summary of Discussion: {ProposedServices} Next Step: {NextStep} I will be your point of contact. If you have questions, reach me at {SalesRepEmail}. Best regards, {SalesRepName} {CompanyName} |

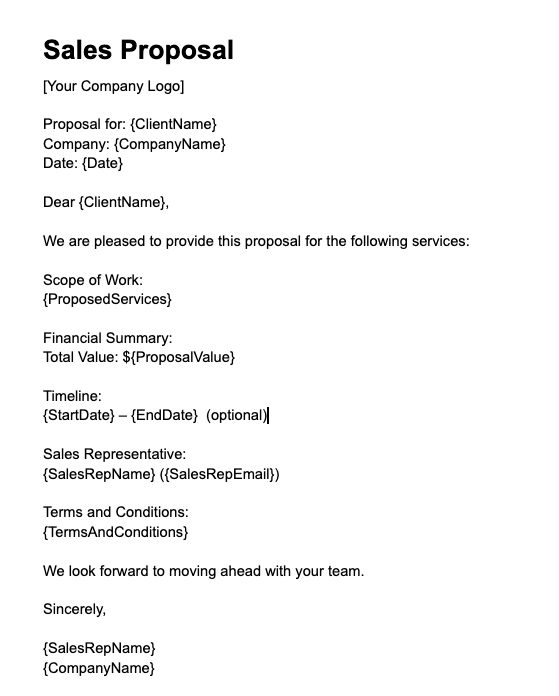
2. Sales Proposal Template (outline)
- Client info: {ClientName}, {CompanyName}
- Financials: {ProposalValue}
- Scope: {ProposedServices}
- Timing: {StartDate} – {EndDate} (optional)
- Rep info: {SalesRepName}, {SalesRepEmail}
- Legal: {TermsAndConditions}
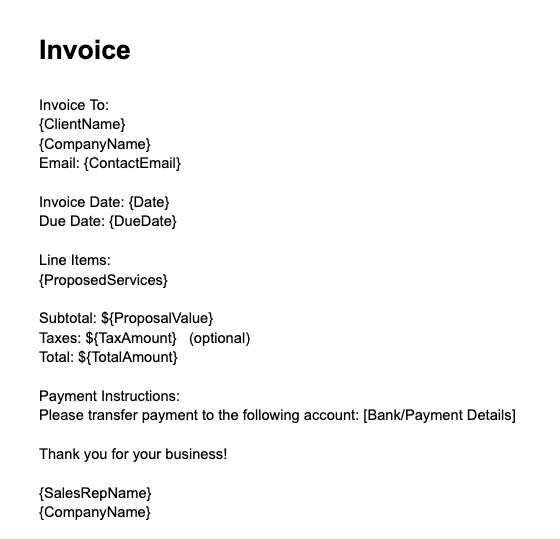
3. Invoice Template (outline)
- Invoice to: {ClientName}, {CompanyName}, {ContactEmail}
- Line items: {ProposedServices} or list from CRM notes
- Subtotal / Taxes / Total: {ProposalValue}
- Payment instructions
Template Rules:
- Use single curly braces for placeholders: {ClientName}.
- Keep tags consistent with Google Sheet or CRM field names.
- Store evergreen text in the template to reduce clutter in your data source.
Step 4: Upload Templates to Active Merge
Steps:
- Go to Templates → Add Template.
- Upload your Word document.
- Confirm that Active Merge detects all merge tags and matches them with your Google Sheet or CRM columns.
- Save your template and assign a clear version number.
Tip: Increment template versions whenever you make changes to track updates.

Step 5: Build a Multi-Document Workflow
Purpose: Generate multiple document types in one pass.
Steps:
- Go to Workflows → Create Workflow.
- Name it (e.g., Post-Meeting Pack).
- Add documents from your templates:
- FollowUp_Letter_v1
- Proposal_Core_v2
- Invoice_Standard_v1 (optional)
- Choose output format: PDF for client delivery (Word if internal edits are required).

- Set dynamic file names using fields, e.g.,
- Proposal_{CompanyName}_{MeetingDate}.pdf
- FollowUp_{ClientName}_{MeetingDate}.pdf
- Input options:
- Upload CSV/XLSX exported from CRM
- Use Active Merge form for manual entry
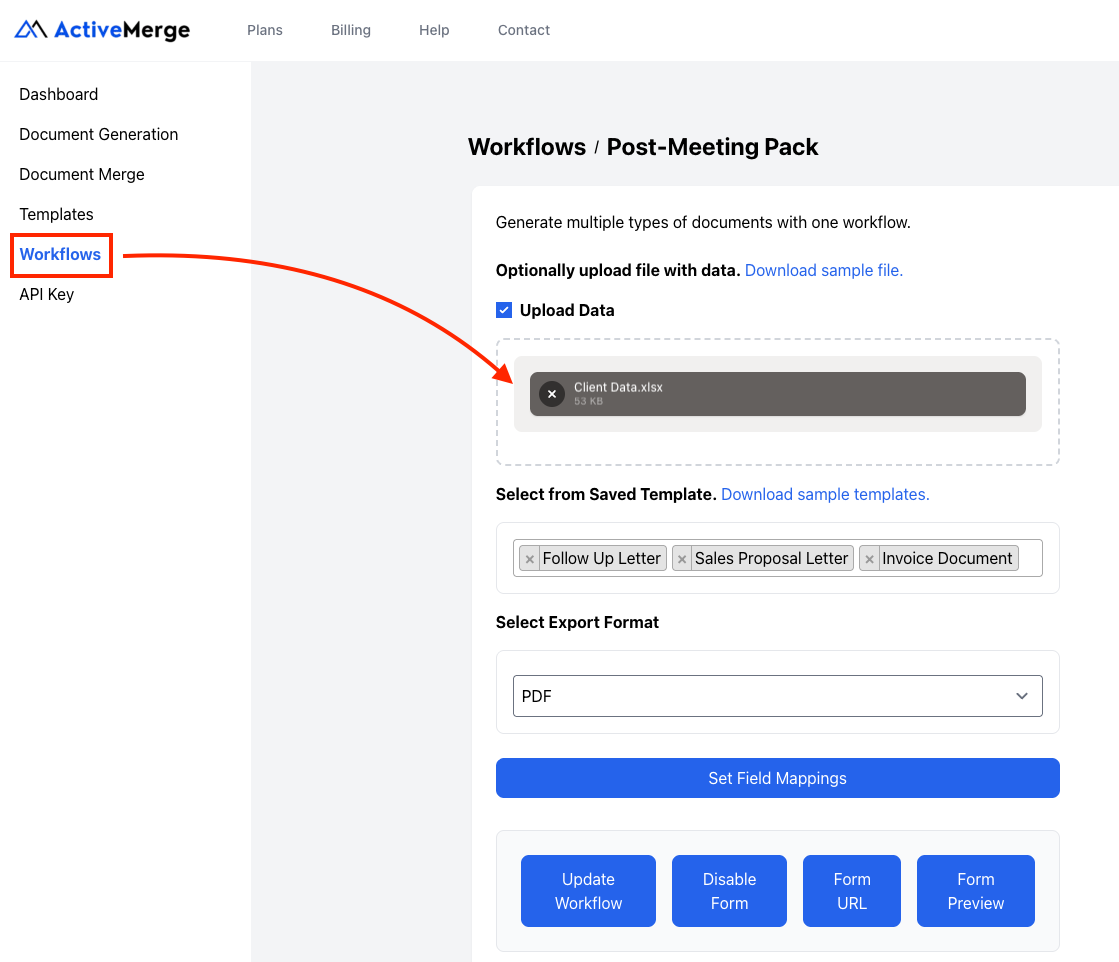
- Click Update Workflow to save.
Tip: Use workflows whenever multiple documents are needed for a single client interaction.
Step 6: Connect Your Data Source
Purpose: Feed workflows with client/project data.
Google Sheets Integration (Main Option):
- Prepare a spreadsheet where each column matches a merge tag in your templates.
- In Active Merge, select Upload Data → Google Sheets.
- Map each column to its corresponding merge tag.
- Save and test the mapping.

Benefits:
- Automatically generate documents for every row.
- Eliminate manual copy-pasting or reformatting.
Zapier Integration (Optional for CRM users, if needed in future):
- Zapier can automate data input from Salesforce, HubSpot, or other CRMs, triggering Active Merge workflows when records update.
Note: Zapier is optional and only needed if you want workflows triggered automatically by CRM events. Otherwise, you can manually upload Google Sheets data to run your workflow.
Step 7: Preview and Generate Documents
Purpose: Verify accuracy and generate all documents for your clients.
Steps:
- Select a test row from your Google Sheet.
- Click Preview in Active Merge to check all merge fields. Confirm that:
- Client Name
- Meeting Date
- Next Steps
- Proposal Value …and any other fields populate correctly.

- After verifying the preview, click Generate All Documents.
- You will see a confirmation screen:
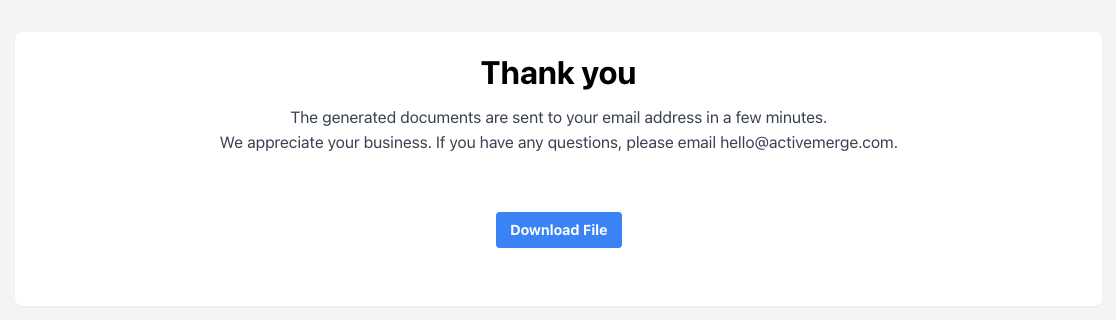
- Once the documents are ready, download them:
- Files are packaged in a ZIP file.
- Extract the ZIP to access each document individually (Follow-Up Letter, Proposal, Invoice, etc.).
Tips:
- Always preview at least one row to avoid errors in bulk generation.
- Check the file naming format to ensure consistency (e.g., Proposal_{CompanyName}_{MeetingDate}.pdf).
- Keep a backup of generated files before sending to clients for added security.
Step 8: Automate Delivery & Storage
Purpose: Ensure your sales documents reach the right people quickly, stay organized, and are easy to reference—all without manual effort.
Delivery & Storage Options:
- Email to Clients: Automatically send follow-up letters, proposals, or invoices to prospects. Personalize messages with merge fields so each email feels tailored. CC managers or account owners to keep your team aligned.
- Cloud Storage: Store generated PDFs in Google Drive, Dropbox, or OneDrive. Organize by client, deal stage, or campaign for quick access and reporting. With optional folder automation, your documents are instantly filed where your team expects them.
- Internal Notifications: Keep your sales team informed by triggering notifications in Slack, Microsoft Teams, or email whenever new documents are ready for review or sending.
Pro Tip: Automation not only saves time but ensures consistent, professional follow-ups. Your team spends less time juggling files and more time engaging prospects and closing deals.
Conclusion
With a small up-front investment in clean CRM fields and well-built templates, you can turn post-meeting busywork into a one-click system.Active Merge Workflows generate all required documents in one pass; Zapier ensures they’re delivered, filed, and attached to the CRM record—without reps leaving their pipeline view.
The result is faster follow-ups, consistent branding, fewer mistakes, and better visibility for managers—so your team can focus on selling, not formatting.
Frequently Asked Questions
- Can one workflow generate different templates for different deal types?
Yes. Create multiple workflows (e.g., New Business, Renewal, Enterprise) or use Zapier Paths to route the same trigger to different templates based on CRM fields like DealType or ProductLine.
- What if my Zapier app doesn’t offer “Run Workflow”?
Add multiple Generate Document actions in the same Zap—one per document type—or run separate Zaps that trigger in parallel on the same CRM event.
- How do I handle itemized pricing in a proposal?
If your CRM stores line items, export them to a single text field for merging (e.g., via a CRM workflow or Zapier Formatter). For complex tables, consider a secondary data source (Google Sheets) referenced by the same Deal ID and merge a pre-formatted table block.

